Starting a home music studio is a dream for many aspiring musicians and producers. One of the key components in this setup is the audio interface. Understanding what an audio interface is and how it functions can significantly enhance your recording and production capabilities. This article will explore the concept of an audio interface, its various features, and how you can use it to set up and run your own home music studio.
What is an Audio Interface?
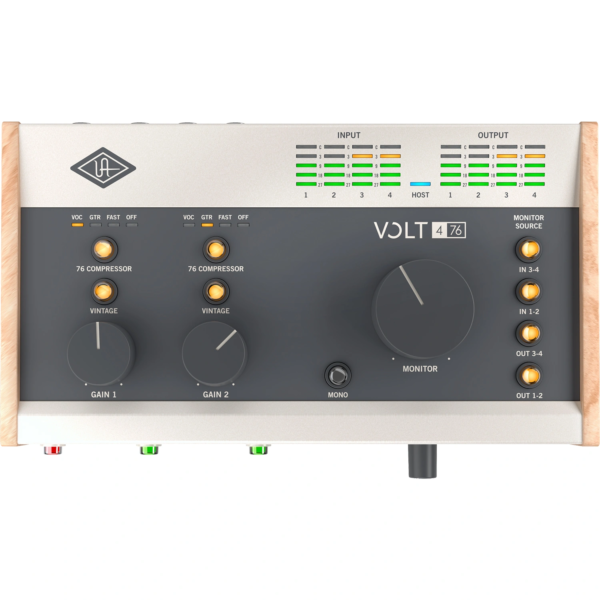
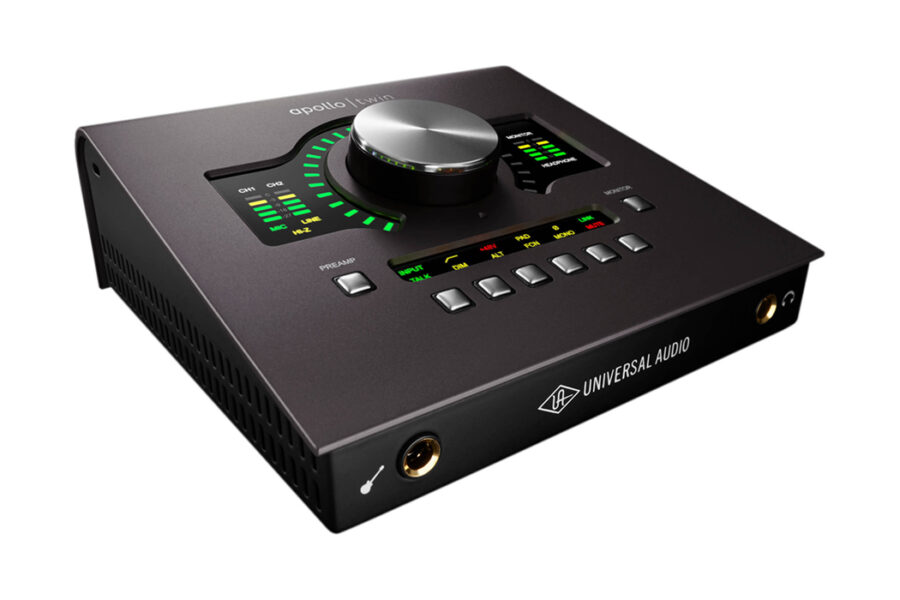
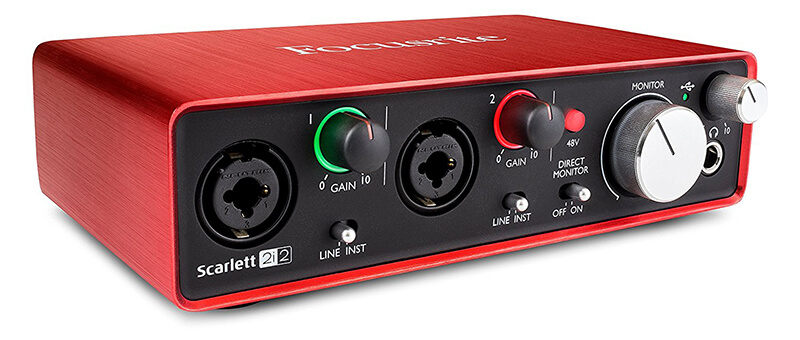
An audio interface is a device that connects your musical instruments and microphones to your computer. It converts analog signals (like your voice or the sound from a guitar) into digital signals that your computer can process, and vice versa. This conversion process is crucial for recording, editing, and producing music digitally.
Audio interfaces come in various shapes and sizes, from compact portable units to larger, more complex devices with multiple inputs and outputs. They typically connect to your computer via USB, Thunderbolt, or FireWire, depending on the model and your computer’s available ports.
Key Features of an Audio Interface
- Inputs and Outputs (I/O): The number of inputs and outputs determines how many instruments or microphones you can connect simultaneously. For a simple home studio, 2-4 inputs are usually sufficient, while more advanced setups may require additional I/O.
- Preamps: High-quality preamps are essential for capturing clean and clear audio. They amplify the weak signals from microphones to a level suitable for recording. Many audio interfaces come with built-in preamps, but the quality can vary.
- Phantom Power: This feature is necessary for using condenser microphones, which require external power to operate. Most audio interfaces provide phantom power (typically 48V) to accommodate these mics.
- Digital Conversion Quality: The bit depth and sample rate of the digital converters in your audio interface affect the quality of your recordings. Higher bit depths and sample rates result in more detailed and accurate recordings.
- Latency: Latency refers to the delay between inputting a sound and hearing it through your computer’s speakers. Lower latency is crucial for real-time monitoring and recording, ensuring that there are no noticeable delays that can disrupt the performance.
- Monitoring: Most audio interfaces offer headphone outputs and monitor control, allowing you to listen to your recordings in real time. Some models also include direct monitoring, which lets you hear the input signal before it passes through your computer, reducing latency.
How to Use an Audio Interface to Record Music
- Setup and Connection: Start by connecting your audio interface to your computer using the appropriate cable (USB, Thunderbolt, or FireWire). Install any necessary drivers or software provided by the manufacturer to ensure proper functionality.
- Connecting Instruments and Microphones: Plug your instruments and microphones into the inputs on the audio interface. If you’re using a condenser microphone, make sure to activate the phantom power.
- Configuring Your DAW: Open your digital audio workstation (DAW) and configure the audio settings to recognize your audio interface. Set the interface as the input and output device in your DAW’s audio preferences.
- Setting Levels: Adjust the gain levels on the audio interface to ensure a strong signal without clipping (distortion). Most interfaces have LED indicators to help you monitor the input levels.
- Recording: Create a new track in your DAW and select the appropriate input source. Arm the track for recording and press the record button. Play your instrument or sing into the microphone, and the audio will be captured by your DAW.
- Monitoring: Use headphones or studio monitors connected to the audio interface to listen to your recordings. Adjust the monitoring levels as needed for comfortable listening.
Setting Up Your Home Music Studio
- Choosing the Right Space: Select a quiet and acoustically treated room for your studio. Avoid rooms with excessive background noise or reflective surfaces that can interfere with your recordings.
- Essential Equipment:
- Computer: A reliable computer with sufficient processing power and storage is crucial for running your DAW and handling large audio files.
- DAW Software: Choose a DAW that suits your workflow and production needs. Popular options include Ableton Live, Logic Pro, Pro Tools, and FL Studio.
- Audio Interface: As discussed, the audio interface is the heart of your recording setup. Choose one that meets your input/output needs and budget.
- Microphones: Invest in a good quality condenser microphone for vocals and a dynamic microphone for instruments.
- Headphones and Monitors: High-quality headphones and studio monitors are essential for accurate monitoring and mixing.
- MIDI Controller: A MIDI keyboard or controller can enhance your workflow, allowing you to input notes and control virtual instruments.
- Acoustic Treatment: Improve the sound quality of your recordings by adding acoustic panels, bass traps, and diffusers to your studio space. This will help reduce reflections and absorb unwanted frequencies.
- Organization and Workflow: Arrange your equipment ergonomically to ensure a smooth workflow. Keep cables organized and easily accessible, and create a comfortable environment that encourages creativity.
- Learning and Experimentation: Take the time to learn your DAW and audio interface inside out. Experiment with different recording techniques, microphone placements, and mixing methods to develop your unique sound.
Conclusion
An audio interface is an indispensable tool for anyone looking to record music and start a home studio. It bridges the gap between your instruments and your computer, enabling high-quality digital recording and production. By understanding the features and functions of an audio interface, you can make informed decisions when setting up your home studio. Combine this knowledge with essential equipment, acoustic treatment, and a passion for music, and you’ll be well on your way to creating professional-quality recordings from the comfort of your home. Dive into the world of audio interfaces and home recording, and let your musical journey begin!